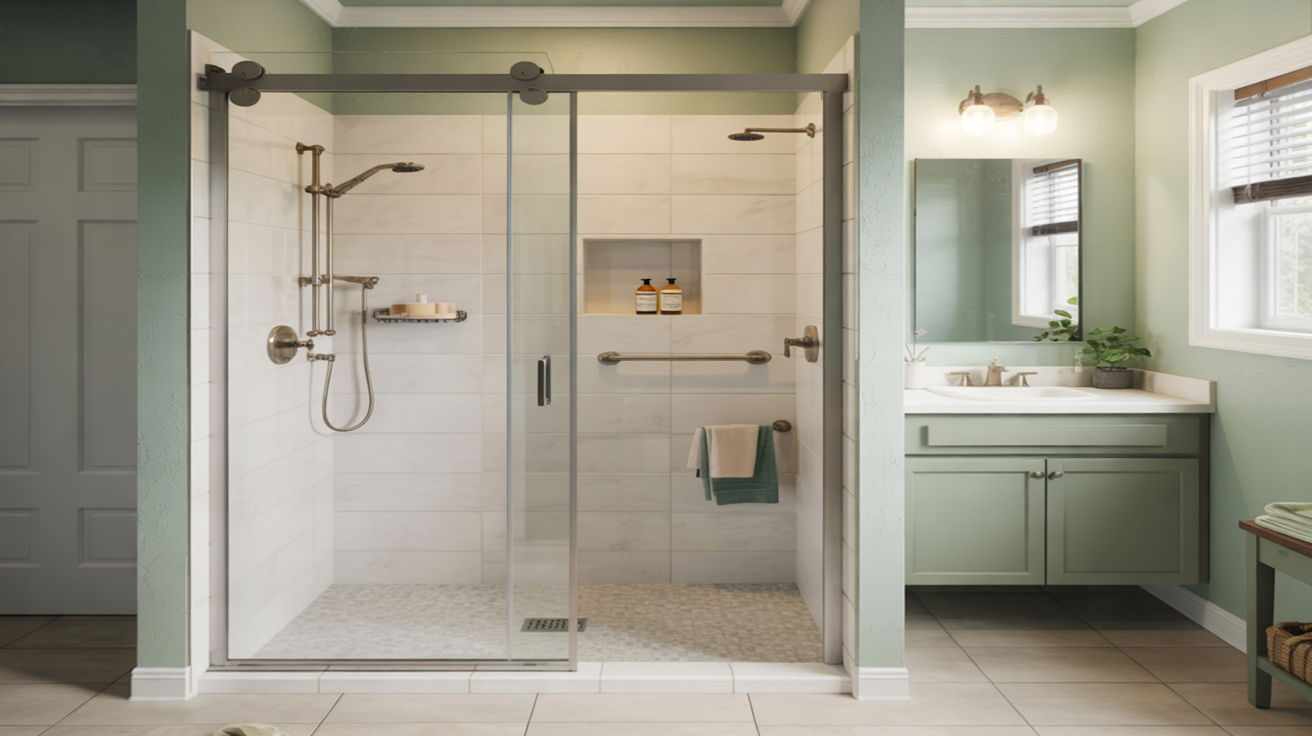
A walk-in shower replacement is one of the most effective ways to modernize your bathroom, improve safety, and make daily routines more comfortable. Whether you want a low-threshold entry for accessibility or a sleek, spa-like space, the design and installation details matter for long-term performance and easy maintenance.
Below is a practical guide to planning a walk-in shower replacement in Palm Bay, from layout and style choices to what actually happens during installation.
What Is a Walk-In Shower Replacement?
A walk-in shower replacement typically means removing an existing tub or older shower and installing a new, easily accessible shower with a low curb or barrier-free entry. The focus is on open access, smooth transitions, and upgraded materials and fixtures.
In Palm Bay homes, walk-in showers are popular for:
- Improving safety for aging family members or those with mobility issues
- Maximizing space in smaller bathrooms
- Updating outdated tile, grout, and fixtures
- Creating a more modern, open bathroom layout
Planning Your Walk-In Shower Design
Good design decisions early on will make your new shower more comfortable, functional, and durable. Think through layout, materials, storage, and safety features before installation starts.
1. Layout and Size
Start with your existing bathroom footprint and plumbing locations. In many Palm Bay homes, a walk-in shower replaces a tub along one wall. Other layouts include corner showers or extended, rectangular showers with room for a bench.
- Standard alcove replacement: Replaces a tub in the same footprint, often the most cost-efficient.
- Corner walk-in: Works well in small bathrooms or guest baths.
- Expanded shower: Uses extra wall space to add a bench, wider entry, or dual shower heads.
If you are comparing different project types, see Tub-to-Shower Conversion vs Full Shower Replacement for how layouts can change.
2. Shower Base Type
The shower base (or pan) sets the foundation for drainage, waterproofing, and accessibility.
- Low-threshold base: A small curb that’s easy to step over and still helps contain water.
- Barrier-free or curbless: Zero-entry design that’s ideal for wheelchairs, walkers, or future aging-in-place needs.
- Textured base surface: Helps reduce slipping under wet, soapy conditions.
For more on accessibility-focused layouts, review Low-Threshold and Barrier-Free Showers for Accessibility and Shower Replacement for Aging in Place.
3. Walls: Acrylic vs. Tile and Other Options
Your wall choice affects look, maintenance, and cost. Common options include:
- Acrylic or solid-surface surrounds: Fewer seams, easy to clean, and often faster to install.
- Tile: Classic appearance and endless style choices, but grout requires more upkeep.
- Stone-look panels: Provide an upscale look without the maintenance of real stone.
To compare the pros and cons of popular wall materials, visit Acrylic vs Tile Showers: Which Is Best for Your Bathroom? and Mold and Mildew Resistant Shower Materials.
4. Doors, Glass, and Privacy
Walk-in showers typically use glass panels or doors to keep the bathroom open and bright. Your main choices are:
- Sliding glass doors: Ideal where there isn’t room for a swinging door.
- Hinged or pivot doors: Create a wide, clear opening.
- Glass panel with open entry: A partial glass wall with no moving door.
Glass can be clear, frosted, or patterned for more privacy. For more guidance, see Choosing Shower Doors vs Shower Curtains After a Replacement and Custom Shower Designs: Doors, Walls, and Bases.
5. Fixtures, Storage, and Comfort Features
The details inside your walk-in shower make everyday use easier and more enjoyable:
- Shower heads: Fixed, handheld, rainfall, or a combination.
- Built-in storage: Niches, shelves, and corner caddies to keep bottles off the floor.
- Seating: Built-in bench or fold-down seat, especially helpful for accessibility.
For upgrade ideas, check Luxury Shower Upgrades: Rainfall Heads, Niches, and Benches and Energy-Efficient and Water-Saving Shower Fixtures.
6. Safety and Non-Slip Features
Walk-in showers are safer when they combine non-slip flooring, good lighting, and solid grab points.
- Textured bases or anti-slip coatings
- Strategically placed grab bars at entry and near controls
- Lever-style faucets that are easier to operate
To explore options in more detail, visit Non-Slip and Safety Features for New Showers.
How Walk-In Shower Installation Works
Knowing the basic installation process helps you plan around noise, dust, and temporary loss of your shower. Timelines vary based on materials, plumbing changes, and bathroom size. For general timing expectations, see How Long Does a Shower Replacement Take? and One-Day Shower Replacement: What to Expect.
Step 1: Planning and Measurements
Accurate measurements and layout planning come first. This includes checking stud locations, drain position, ceiling height, and existing plumbing. Many homeowners also review budgets and timelines at this stage using the Shower Replacement Cost Guide and the Shower Replacement Timeline and Planning Worksheet.
Step 2: Protecting the Home and Removing the Old Unit
Before demolition, surfaces are protected as needed. Then the old tub or shower, walls, and fixtures are removed, exposing the framing and plumbing.
Step 3: Plumbing Adjustments
For most walk-in showers, the drain, valve height, and water lines may need updating. This is a good moment to consider:
- Replacing old valves and supply lines
- Adding shutoff valves, if missing
- Upgrading to pressure-balancing or thermostatic valves
For ideas and options, see Plumbing Upgrades to Consider During Shower Replacement.
Step 4: Waterproofing and Shower Base Installation
Proper waterproofing is critical in Palm Bay’s humid climate. The installer will prepare the subfloor, set and level the shower base, and apply waterproofing membranes or systems around the shower area.
To learn how leaks are prevented long term, visit Waterproofing and Leak Prevention in Shower Replacement.
Step 5: Walls, Tile, and Surrounds
Once the base and waterproofing are in place, wall backer boards and shower surrounds or tile are installed. This is when niches, corner shelves, and grab bar blocking are added.
Step 6: Doors, Trim, and Fixtures
After walls and grout or panels cure, the glass door or panel is installed, along with the shower head, valve trim, and accessories such as grab bars and towel hooks.
Step 7: Final Inspection and Cleanup
The last step includes checking for leaks, testing drainage, and verifying door alignment. The crew then cleans up the work area and reviews care instructions with you. For maintenance tips, see Post-Installation Care and Cleaning for New Showers.
DIY vs. Professional Walk-In Shower Replacement
Some homeowners consider handling a shower replacement themselves. While manageable for experienced DIYers, walk-in showers require careful plumbing, waterproofing, and code compliance to avoid long-term damage.
Factors to think about:
- Waterproofing risk: Mistakes can lead to hidden leaks, mold, and structural damage.
- Plumbing changes: Moving drains or valves usually calls for professional work.
- Time and tools: You’ll need specialized tools, plenty of time, and a backup bathing plan.
To compare approaches, review DIY vs Professional Shower Replacement and Hiring a Shower Replacement Contractor: Questions to Ask.
Financing, Warranties, and Long-Term Value
Walk-in shower replacements add comfort and can improve resale appeal, but they are also a significant investment. It helps to understand payment options and long-term protections.
- Financing: Many homeowners spread costs over time. Learn more at Affordable Shower Remodel Financing Options and Shower Replacement Financing FAQs.
- Warranties: Coverage varies by product and installer. Read about what to expect at Shower Replacement Warranties and What They Really Cover.
- Avoiding issues: Good planning and installation help prevent problems; see Common Shower Replacement Problems and How to Avoid Them.
FAQs About Walk-In Shower Replacement
How long does a walk-in shower replacement usually take?
Many straightforward projects take a few days from demolition to final cleanup, depending on materials and whether plumbing is moved. Some systems are designed for faster installation when conditions allow. For a more detailed breakdown, visit How Long Does a Shower Replacement Take?.
How should I prepare my bathroom before installation?
Common steps include clearing personal items, providing access to the work area, and planning alternate bathing arrangements while the shower is out of service. A more complete checklist is available at How to Prepare Your Bathroom for a Shower Replacement and Step-by-Step Shower Replacement Checklist for Homeowners.
Is a walk-in shower a good option for a small bathroom?
Yes. A carefully designed walk-in shower can actually make a small bathroom feel larger by removing a bulky tub and adding clear glass. For layout and storage ideas, see Small Bathroom Shower Replacement Ideas.
Where can I learn more before starting?
You can explore additional guides and planning resources on the Blog and the Shower Replacement FAQs page, or read about Shower Replacement Palm Bay at the About page.