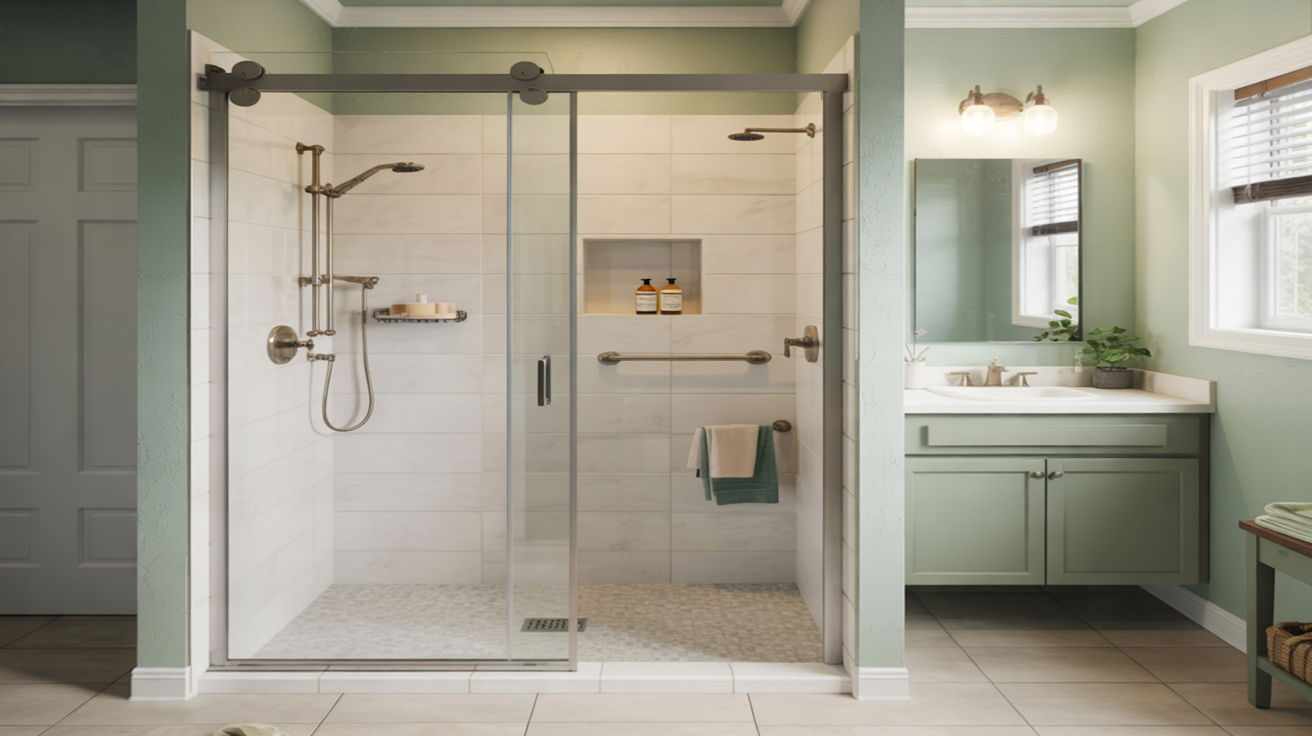
Typical Shower Replacement Timelines
Most homeowners in Palm Bay want to know how long they will be without a working shower. The answer depends on the condition of your existing bathroom, the materials you choose, and whether any plumbing or structural repairs are needed.
As a general guideline, a straightforward shower replacement usually falls into these ranges:
- Simple replacement with minimal changes: 1–3 days of on-site work
- Tub-to-shower conversions or layout changes: 3–5 days of on-site work
- Complex remodels with plumbing or structural work: 5–7+ days, sometimes longer
This time frame covers the demolition of your old shower, preparation of the area, installation of the new shower system, and basic cleanup. Design decisions, material ordering, and permitting (when needed) happen before work starts in your home and can add days or weeks to the overall calendar timeline.
What Affects How Long a Shower Replacement Takes?
Even two showers that look similar on the surface can take very different amounts of time to replace. Key factors include:
1. Type of Replacement
- Direct replacement: Swapping an old shower for a new one in the same footprint, with the same general layout, is the fastest option.
- Tub-to-shower conversion: Removing a bathtub and installing a walk-in shower typically takes longer due to plumbing height changes and floor preparation.
- Walk-in and low-threshold showers: Accessible designs may require more detailed floor work to ensure proper slope and drainage.
To explore different shower types, you can review Types of Replacement Showers: Walk-In, Tub-to-Shower, and More.
2. Material Choices
- Acrylic or solid-surface wall systems: Often faster to install because large panels cover the walls with fewer seams.
- Tile showers: Require more time for layout, cutting, setting tile, grouting, and drying.
Material choice impacts both installation time and long-term cleaning. For a deeper comparison, see Acrylic vs Tile Showers: Which Is Best for Your Bathroom?.
3. Plumbing and Hidden Issues
Once the old shower is removed, your contractor may find:
- Leaking or corroded pipes
- Water damage to framing or subfloor
- Improper or missing waterproofing
Addressing these problems adds time but is essential for a long-lasting, leak-free shower. If you are thinking about upgrading fixtures or valves, review Plumbing Upgrades to Consider During Shower Replacement.
4. Custom Features and Upgrades
- Built-in niches and shelves
- Benches or corner seats
- Multiple or rainfall shower heads
- Custom glass doors and enclosures
These upgrades add time for framing, waterproofing, and precise installation. For ideas, see Luxury Shower Upgrades: Rainfall Heads, Niches, and Benches and Custom Shower Designs: Doors, Walls, and Bases.
5. Permits and Inspections
Some projects, especially those involving plumbing relocation or structural changes, may require permits and inspections. Scheduling and waiting for inspections can extend the overall calendar time even if the actual labor hours remain similar.
Day-by-Day Look at a Typical Shower Replacement
Every home is different, but the outline below shows how a common 3–5 day shower replacement might progress.
Day 1: Protection, Demolition, and Assessment
- Cover walkways and nearby rooms to protect floors and furnishings.
- Shut off water to the shower as needed.
- Remove existing shower or tub, wall surfaces, and old fixtures.
- Inspect framing, plumbing, and subfloor for damage or code issues.
- Discuss any unexpected findings and schedule adjustments with you.
Day 2: Repairs, Plumbing, and Waterproofing
- Replace damaged studs or subfloor if needed.
- Adjust plumbing locations or heights for new fixtures.
- Install or update the shower pan or base.
- Apply modern waterproofing systems to walls and floors.
Strong waterproofing is critical for preventing leaks and mold. For more detail, see Waterproofing and Leak Prevention in Shower Replacement.
Day 3–4: Walls, Fixtures, and Glass
- Install wall panels or tile, including niches or benches if planned.
- Set fixtures such as valves, shower heads, and controls.
- Install grab bars or non-slip features if requested.
- Fit shower doors or glass panels (sometimes this occurs after a short curing period).
Day 4–5: Finishing Touches and Cleanup
- Seal joints and edges with appropriate caulks and sealants.
- Test the shower for leaks and proper drainage.
- Final cleanup of the work area and haul-away of debris.
- Walk-through with you, plus basic care and cleaning instructions.
For a more detailed planning tool, visit the Shower Replacement Timeline and Planning Worksheet.
One-Day Shower Replacement: Is It Realistic?
In some situations, a one-day shower replacement is possible, especially when:
- You keep the same basic layout.
- You choose a system designed for rapid installation, such as certain acrylic or solid-surface kits.
- Your underlying plumbing and structure are in good condition.
However, if your bathroom has existing water damage, outdated plumbing, or you want a more customized design, expect the project to extend beyond a single day. Learn more in One-Day Shower Replacement: What to Expect.
How to Shorten Your Shower Replacement Timeline
You may not control everything, but you can help keep your project on schedule by planning ahead.
1. Make Design Decisions Early
Select your materials, fixtures, and layout before scheduling installation whenever possible. This helps avoid delays from backordered products or last-minute changes.
2. Prepare the Bathroom Before Work Starts
Simple steps such as clearing personal items, providing a clear path to the bathroom, and arranging for pets or children to be in other areas of the home can save time. For more ideas, see How to Prepare Your Bathroom for a Shower Replacement.
3. Address Financing and Scheduling in Advance
If you plan to use financing, completing applications and approvals ahead of time helps you schedule work without last-minute changes. You can read about options at Affordable Shower Remodel Financing Options.
4. Choose the Right Level of Customization
Highly customized tile work and advanced plumbing features are beautiful but usually take longer. If your priority is speed, consider a simpler design now with the option to upgrade accessories later.
Practical Considerations While Your Shower Is Out of Service
Being without a main shower for several days can be inconvenient, especially in a one-bathroom home. Plan ahead to stay comfortable:
- Alternative bathing: Use another bathroom in the home, a neighbor’s, or a temporary gym membership if needed.
- Scheduling: Try to schedule work when family or guests are minimal, or when school and work schedules make coordination easier.
- Noise and dust: Expect construction noise and some dust, even with protection in place.
- Access: Make sure the contractor knows where to park, access electrical outlets, and dispose of debris.
FAQs About Shower Replacement Timelines
Will I be able to use the shower at night during the project?
In most cases, once demolition begins, the shower will be out of service until the project is completed and all waterproofing and sealants have cured. Your contractor can give you a more precise estimate after seeing your bathroom.
What if problems are discovered after demolition?
If hidden damage or code issues are found, your contractor should explain the situation, propose solutions, and update the schedule. Fixing these issues may add days but is important for safety and durability. To understand potential pitfalls, you can review Common Shower Replacement Problems and How to Avoid Them.
Is DIY faster than hiring a professional?
DIY can seem faster because you can work on your own timetable, but it often stretches across many weekends. Professionals typically complete work in a tighter, more predictable time frame and bring experience in waterproofing and plumbing. For a comparison, see DIY vs Professional Shower Replacement.
How far in advance should I schedule?
Contractor availability in Palm Bay changes with the season, but it is wise to start planning several weeks in advance. This allows time for design, product ordering, and any needed financing or permits.
Where can I learn more about planning my project?
For broader answers about cost, features, and warranties, visit the Shower Replacement FAQs page, the Shower Replacement Cost Guide, and Shower Replacement Warranties and What They Really Cover. You can also learn more about the company on the About page or browse additional topics on the Blog.