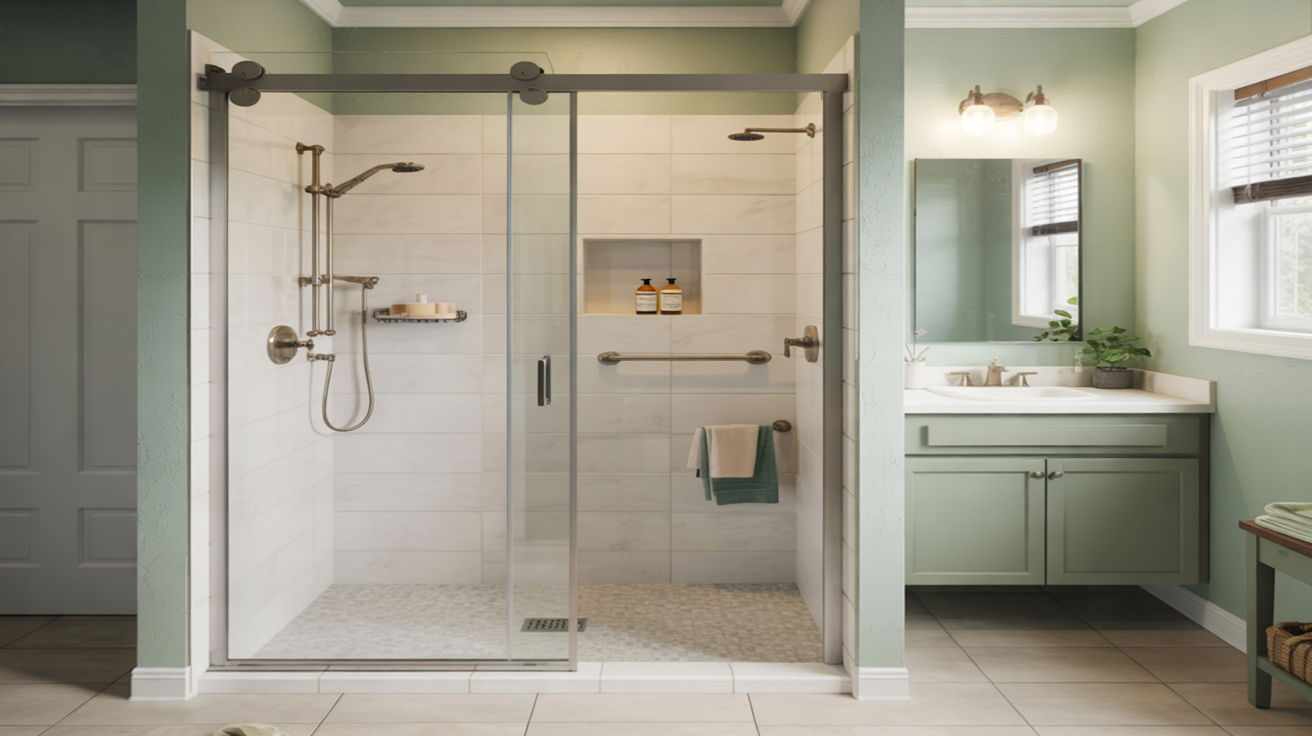
Plan Your Shower Replacement From Start to Finish
A shower replacement is much easier when you know what happens first, what depends on what, and how long each step usually takes. This page is designed as a practical planning worksheet for Palm Bay homeowners so you can map out your own schedule, set expectations, and avoid last-minute surprises.
Use the timelines and checklists below to sketch out your project on a calendar, coordinate with your household, and talk clearly with any contractor you choose.
Typical Shower Replacement Timeline Overview
Every bathroom is different, but most shower replacement projects fall into one of three general timelines:
| Project Type | Approx. Planning Time | Approx. Installation Time | Best For |
|---|---|---|---|
| One-day shower replacement | 1–3 weeks | 1 day | Simple replacement, minimal layout changes |
| Standard replacement | 2–4 weeks | 2–4 days | Updating walls, fixtures, and doors |
| Custom / layout change | 4–8+ weeks | 4–7 days (sometimes more) | Moving plumbing, custom tile, accessibility builds |
For more detail on how long each phase can take, you can also review How Long Does a Shower Replacement Take? after you finish your planning worksheet below.
Pre-Planning: Define Your Project (Week 0)
Before you call anyone or buy materials, clarify what you want your new shower to do for you. This keeps your timeline and decisions focused.
Step 1: Identify your main goals
- Replace a worn, leaking, or outdated shower
- Convert a tub to a walk-in shower
- Add safety and accessibility features for aging in place
- Upgrade to a more spacious, low-maintenance design
If accessibility is a priority, see Low-Threshold and Barrier-Free Showers for Accessibility and Shower Replacement for Aging in Place for ideas to include in your plan.
Step 2: Set your basic constraints
Write these down to keep them in front of you as you plan:
- Target completion date (for example, before guests arrive or a holiday)
- Maximum days your main bathroom can be out of service
- Rough budget range (you can refine this using the Shower Replacement Cost Guide)
- Any health, mobility, or schedule limits in your household
Planning Worksheet: Week-by-Week Timeline
Use this section as a working template. Copy it into a notebook, spreadsheet, or planner and fill in actual dates as you go.
Week 1: Research and Initial Decisions
- Decide on DIY vs professional installation. Review DIY vs Professional Shower Replacement and note your choice. This decision affects almost every other timeline step.
- Clarify your shower type. Use Types of Replacement Showers: Walk-In, Tub-to-Shower, and More and Tub-to-Shower Conversion vs Full Shower Replacement to pick your general direction.
- Choose a wall system direction. Read Acrylic vs Tile Showers: Which Is Best for Your Bathroom? and note your preference along with pros and cons for your household.
Week 2: Layout, Features, and Budget
- Sketch your layout. Note current dimensions, drain location, and any walls you might move. Decide whether plumbing will stay where it is or need to shift (see Plumbing Upgrades to Consider During Shower Replacement).
-
Select priority features.
Create two short lists:
- “Must-haves” – like a low threshold, grab bars, or built-in niche
- “Nice-to-haves” – like rainfall heads, benches, or glass upgrades
- Rough in your budget. Use the Shower Replacement Cost Guide and note a low, medium, and high estimate. Decide what you will adjust first if costs start to climb (for example, tile complexity, glass style, or extra upgrades).
Week 3: Quotes, Financing, and Scheduling
- Gather contractor quotes. Use Hiring a Shower Replacement Contractor: Questions to Ask and prepare a short list of questions about timeline, warranties, and materials.
- Decide on payment and financing. If you plan to finance, review Affordable Shower Remodel Financing Options and Shower Replacement Financing FAQs to understand approvals and how they may impact timing.
- Confirm target installation window. Block off time on your calendar when installers can have access to the bathroom for one or more full days.
Week 4: Final Selections and Prep Work
- Lock in materials and fixtures. Confirm wall system, base, doors or curtains, fixtures, and accessories. If you are undecided on enclosures, see Choosing Shower Doors vs Shower Curtains After a Replacement.
- Plan for safety and maintenance. Choose non-slip flooring and grab bars using Non-Slip and Safety Features for New Showers, and low-maintenance surfaces with Mold and Mildew Resistant Shower Materials.
- Prepare the bathroom. About a week before installation, follow the guidance in How to Prepare Your Bathroom for a Shower Replacement so work can start promptly.
Installation Phase Timeline
The exact schedule depends on your project and contractor, but most installations fall into these phases:
- Demolition and removal (½–1 day). Old shower, walls, and fixtures are removed. This is when hidden damage or plumbing issues may show up. Planning buffer time here can prevent stress.
- Plumbing, electrical, and framing (½–2 days). Any drain relocations, valve upgrades, or blocking for grab bars are done. See Plumbing Upgrades to Consider During Shower Replacement for common changes.
- Waterproofing and base installation (½–1 day). Proper waterproofing is critical in Florida’s humid climate. Learn the basics in Waterproofing and Leak Prevention in Shower Replacement.
- Walls, tile or panels, and fixtures (1–3 days). Acrylic or solid panels go up quickly; custom tile can add extra days for layout and curing.
- Glass, caulking, and finishing (½–1 day). Doors or enclosures are installed, everything is sealed, and the space is cleaned.
Some projects can be completed in a single day. For expectations on these compressed timelines, see One-Day Shower Replacement: What to Expect.
Post-Installation Timeline and First 30 Days
Your planning should extend beyond the last day of installation. A short post-project checklist helps you protect your investment.
-
First 24–48 hours:
- Allow caulks and sealants to cure before using the shower (follow installer guidance).
- Check for any slow drips, leaks, or loose hardware and report them immediately.
-
First week:
- Review all warranty paperwork and what it covers using Shower Replacement Warranties and What They Really Cover.
- Read Post-Installation Care and Cleaning for New Showers and set a simple cleaning schedule.
-
First 30 days:
- Monitor grout, caulk lines, and glass for any gaps or issues.
- Note anything that is not working as expected so you can discuss it within any adjustment period your contractor offers.
Practical Planning Tips for Palm Bay Homeowners
- Plan around weather and humidity. High humidity can extend drying and curing times. Ask your installer how this affects your schedule.
- Protect nearby rooms. Cover pathways and doorways to minimize dust and debris traveling through your home.
- Have a backup shower plan. If this is your only bathroom, schedule work when you can access another shower for at least 2–3 days.
- Expect and plan for surprises. Water damage, mold, or outdated plumbing are common in older bathrooms. Build an extra day or two into your timeline for potential repairs. For help avoiding preventable issues, see Common Shower Replacement Problems and How to Avoid Them.
FAQ: Timeline and Planning
How far in advance should I start planning my shower replacement?
For most Palm Bay homes, starting 4–6 weeks ahead gives you enough time to research, gather quotes, order materials, and schedule installation without rushing.
Can a small bathroom shower be replaced faster?
Smaller spaces may demo more quickly, but tight layouts can be more complex. Design choices matter more than size. For layout-specific ideas, visit Small Bathroom Shower Replacement Ideas.
What if my schedule only allows a one- or two-day project?
You may want to focus on streamlined systems and fewer custom details, or explore one-day options. Discuss your constraints up front with any contractor and reference One-Day Shower Replacement: What to Expect.
Where can I find a simple checklist to go with this worksheet?
For a quick, task-focused list to use alongside this planning timeline, see the Step-by-Step Shower Replacement Checklist for Homeowners.
To learn more about Shower Replacement Palm Bay and how we approach projects, visit the About page, or explore more planning articles on our Blog.