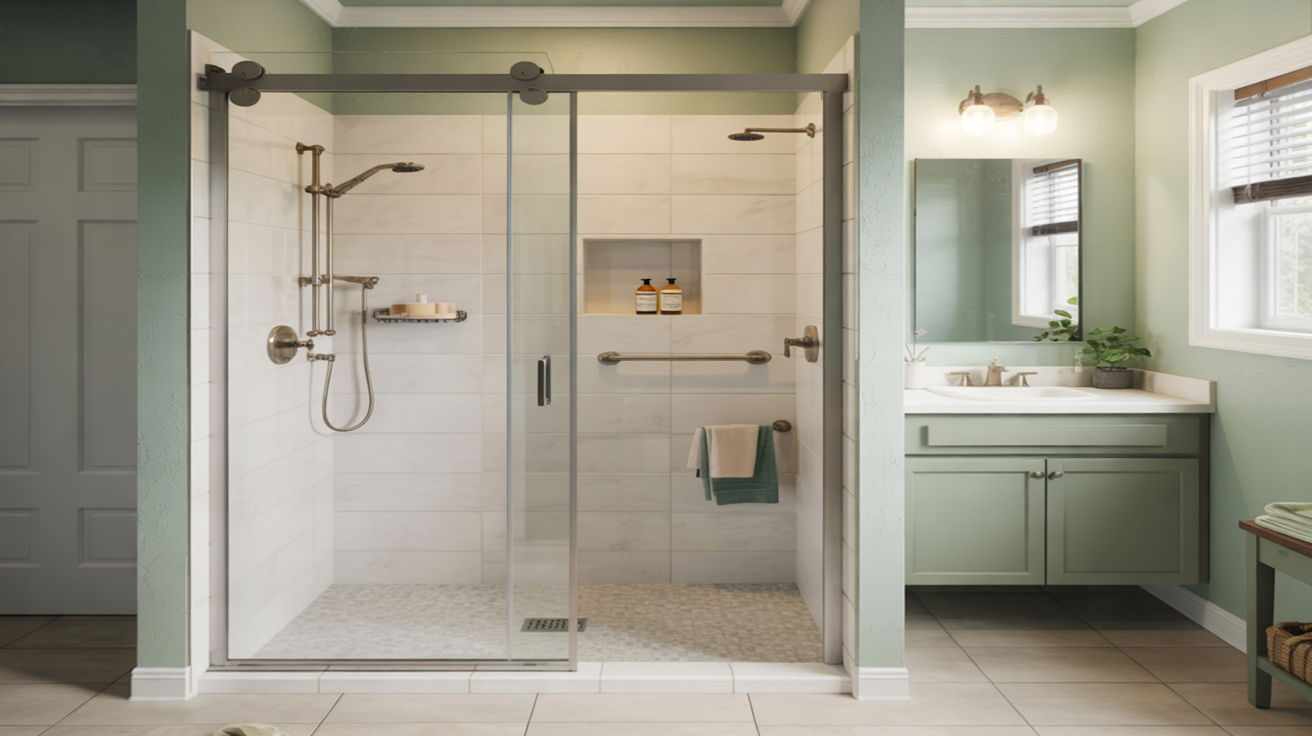
Waterproofing is the most important part of any shower replacement. A beautiful new shower in your Palm Bay home will not last if water is slowly seeping into the walls, floor, or framing. Done correctly, waterproofing protects your home from hidden damage and keeps your new shower looking and performing like new for years.
This page explains how waterproofing and leak prevention work, what materials are typically used, and what you should expect from a professional installation.
Why Waterproofing Matters in Palm Bay, FL
In a humid coastal climate like Palm Bay, moisture problems can escalate quickly. A small shower leak can turn into:
- Soft or sagging floors near the shower
- Mold or mildew growth behind tile or shower walls
- Musty odors that never go away
- Peeling paint or bubbling drywall on nearby walls or ceilings
- Structural damage to framing and subfloors
Good waterproofing keeps water where it belongs – in the shower pan and drain – instead of letting it soak into your home’s structure.
Key Areas That Must Be Waterproofed
A properly waterproofed shower is more than just tile or a surround. Several hidden layers work together to stop leaks:
- Shower base or pan – Collects water and funnels it to the drain.
- Walls around the shower – Especially where they meet the pan or tub.
- Corners and seams – Where panels, walls, or floors meet.
- Penetrations – Openings for valves, shower heads, and niches.
- Threshold/curb area – Where water can splash or pool near the entry.
If any of these areas are not sealed correctly, water can escape and cause damage over time.
Common Waterproofing Systems Used in Shower Replacement
Depending on the style of replacement shower you choose, your installer may use different waterproofing methods. Here are the most common approaches:
1. Acrylic or Solid-Surface Shower Systems
Many Palm Bay homeowners choose acrylic or solid-surface shower systems because they are naturally water-resistant. The panels themselves do not absorb water, and there are fewer grout lines to maintain.
For these systems, leak prevention focuses on:
- Correctly installing the shower base so it’s level and fully supported
- Sealing seams between wall panels and the base
- Sealing all edges where the surround meets the drywall or tile outside the shower area
- Using quality caulking around fixtures and corners
If you’re comparing materials for your project, you may also want to read about material options at Acrylic vs Tile Showers: Which Is Best for Your Bathroom?.
2. Tiled Showers with Waterproof Membranes
For custom tile showers, the tile and grout you see are not the waterproof layer. The real protection comes from what is installed underneath:
- Cement board or foam backer board designed for wet areas
- Liquid-applied waterproof membranes rolled or brushed onto walls and floors
- Sheet membranes installed behind or on top of the backer board
- Pre-sloped shower pans with waterproof liners
Properly installed, these systems direct every drop of water toward the drain and keep moisture from soaking into the structure.
3. Walk-In and Low-Threshold Showers
Walk-in and low-threshold showers require especially careful waterproofing because water can travel farther on a level floor. The slope, drain placement, and transitions to the bathroom floor must be precise so splashes don’t escape the waterproofed area. For more on design considerations, visit Low-Threshold and Barrier-Free Showers for Accessibility.
How Pros Prevent Leaks During Shower Replacement
While each project is unique, a professional shower replacement in Palm Bay generally follows a leak-prevention sequence like this:
- Inspection and demolition
Existing walls, pans, and plumbing are removed and the framing and subfloor are inspected for any prior water damage that must be repaired. - Subfloor and framing repair
Any softened or rotted materials are replaced so the new shower has a solid, level foundation. - Plumbing adjustments
Valves, drains, and supply lines are adjusted or upgraded as needed. For more ideas, see Plumbing Upgrades to Consider During Shower Replacement. - Installation of the shower base
The new pan is set in mortar or another approved support material, ensuring proper slope and alignment with the drain. - Waterproofing the walls and joints
Backer board, membranes, tapes, and sealants are applied according to the manufacturer’s requirements, with special attention at corners, niches, and around plumbing fixtures. - Installing walls, tile, or surround
Wall panels or tile are installed on top of the waterproof layer. Grout or sealants are applied as required. - Final sealing and caulking
All joints between the pan, walls, and fixtures are sealed with high-quality, mold-resistant sealant designed for wet areas. - Testing for leaks
Before the shower goes back into use, the installer checks the drain, joints, and connections for any signs of leaks.
Signs of Poor Waterproofing or Hidden Leaks
After your shower replacement, you should keep an eye out for anything that suggests moisture is getting where it shouldn’t. Contact a professional if you notice:
- Cracked grout or missing caulk that reappears shortly after repair
- Persistent dampness on walls or floors near the shower
- Discoloration on ceilings directly below the shower
- Soft spots when stepping on tiles or flooring by the shower
- Mold or mildew smell, even after cleaning
Addressing these issues early can prevent more extensive repairs later.
Maintenance Tips to Keep Your Shower Leak-Free
Even the best waterproofing system needs basic care. These simple habits can extend the life of your new shower:
- Inspect caulk and grout every few months and repair any cracks or gaps promptly.
- Use mild cleaners recommended for your shower material so you don’t damage sealants or membranes. See Post-Installation Care and Cleaning for New Showers for detailed guidance.
- Run the bathroom fan or open a window during and after showers to reduce humidity.
- Avoid harsh scrubbing tools on silicone caulk, which can pull or tear it away from the surface.
- Watch your water bill – a sudden increase can sometimes point to a hidden plumbing or fixture leak.
Waterproofing and One-Day Shower Replacements
Many Palm Bay homeowners are interested in one-day or fast shower replacement projects. With the right system and an experienced installer, waterproofing can still be done correctly on a tight schedule.
Fast-turnaround projects often use pre-formed pans and wall systems that are designed to integrate with specific drains, sealants, and adhesives. When installed according to the manufacturer’s instructions, these can provide reliable, long-lasting waterproofing. To understand what’s involved in these timelines, visit One-Day Shower Replacement: What to Expect and How Long Does a Shower Replacement Take?.
Questions to Ask About Waterproofing Before You Hire
Before moving forward with a shower replacement, it helps to ask potential contractors specific questions about their waterproofing process:
- What waterproofing system or products do you use for showers like mine?
- How do you handle corners, niches, and the area around the valve and shower head?
- Will you inspect and repair any existing water damage before installing the new shower?
- Do you test for leaks before the job is considered complete?
- How should I maintain the caulking and grout to keep the shower leak-free?
For more ideas on interviewing contractors, take a look at Hiring a Shower Replacement Contractor: Questions to Ask and the Step-by-Step Shower Replacement Checklist for Homeowners.
FAQs About Waterproofing and Leak Prevention
How long should a properly waterproofed shower last?
With quality materials, professional installation, and basic maintenance, a well-waterproofed shower can last many years without leaks. The visible surfaces may need cosmetic updates over time, but the underlying waterproof system should remain intact.
Is grout waterproof?
No. Grout is water-resistant at best, but it is not fully waterproof. That is why modern shower replacements rely on waterproof membranes or solid-surface systems behind or beneath the tile, not just grout.
Can I rely only on caulk to stop leaks?
Caulk is a finishing seal, not the primary waterproofing. It helps seal joints and transitions, but there must be a proper waterproof layer underneath the surfaces for reliable leak prevention.
Is DIY waterproofing a good idea?
Small repairs may be manageable for experienced DIYers, but full shower waterproofing is detailed and product-specific. Mistakes might not show up right away and can lead to hidden damage. For an overview of what’s involved, you can review DIY vs Professional Shower Replacement.
Will my shower replacement warranty cover leaks?
Coverage depends on the product and installer. Some warranties cover materials only, while others include workmanship for a specified period. It’s important to review the details, especially how leaks and water damage are handled. Learn more at Shower Replacement Warranties and What They Really Cover.
Next Steps for Planning Your Leak-Resistant Shower
Waterproofing and leak prevention should be central to any shower replacement plan, not an afterthought. As you explore designs, materials, and timelines, be sure to ask how each option will protect your home from moisture long term. For broader planning help, you can use the Shower Replacement Timeline and Planning Worksheet or browse the latest tips on the Blog.